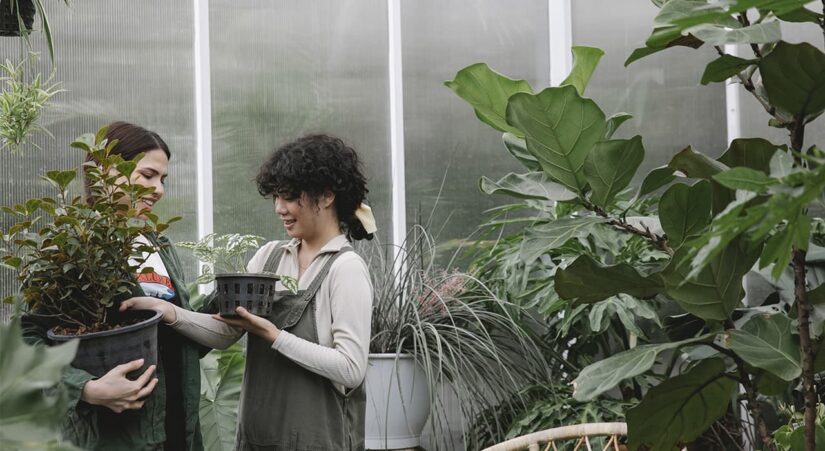
New generation greenhouse-thermos
After attending the workshop “How to make a thermos greenhouse with your own hands”, you will receive a step-by-step guide on how to build your own thermos greenhouse, customizing it to your goals.
List of topics included in this workshop:
Marking the site
Preparing the foundation pit
Laying the foundation
Building the walls
Building the foundation of the vestibule
Backfilling soil into the greenhouse
Making the blind area
Welding of frame rafters
Installation of the frame
Installation of polycarbonate roof profile
Construction of the vestibule
Exterior and interior decoration
Connection to the power grid
Partition for division into climatic zones
Finishing and installation of windows
Rack greenhouse and irrigation system
Protective equipment and energy saving measures
Advantages of thermos greenhouses:
Within 2 years, depending on the length of the greenhouse and the crops grown in it. The best option is a greenhouse of 20 meters or more. Net profit starts from the second year of operation.
Increase in yield
On average, the yield increases by 30%. The advantage of a “thermos greenhouse” is that there is no sharp fluctuation between night and day temperatures.
Reduced costs
Costs are reduced by 15 times for energy consumption, 5 times for watering, 3 times for pest control, and 10 times for repair work.
Service life
More than 30 years. The greenhouse is designed as a capital structure made of monolithic reinforced concrete with the use of energy-saving technologies.
